For information on why an SSL Certificate is required for SSL Inspection, see SSL Inspection
You may choose to install a certificate manually, as per this article:
- For testing purposes on an individual client
- If your network has a small number of devices that need SSL Filtering
- If your network does not have any method of deploying a certificate
Note: If your network has a number of Apple OS X devices, you may prefer to deploy the certificates via Profile Manager.
Prerequisite requirement: Device Certificate Issue due to TLS version Requirement
To ensure secure and reliable connectivity, all devices must use TLS version 1.2 or higher.
Devices using older versions (TLS 1.0 or 1.1) are no longer supported due to known security vulnerabilities and will be unable to connect through the network when ETI is enabled.
If your device is not compatible with TLS 1.2, you may experience connection failures or intermittent service.
What you need to do:
- Check your device or application settings and ensure TLS 1.2 (or higher) is enabled
- Upgrade end devices firmware if TLS 1.2 is not supported.
Considerations
When installing certificates manually onto devices which run Apple OS X, some additional steps are required to maintain maximum security. This involves installing the certificate into the correct keychain. There are three options to choose from.
| Keychain | Use Case |
|---|
| login | The logged on user - Where the device will be used by only one staff member/student, or where only one user may have consented to having their secure traffic inspected. |
| Local Items | This is the Keychain for Cached iCloud Passwords. |
| System | Where the device will be used by multiple users |
This guide assumes you have chosen the System keychain, but the steps should be very similar for the login keychain.
Installing an SSL or TLS Certificate (as a Trusted Root Certification Authority)
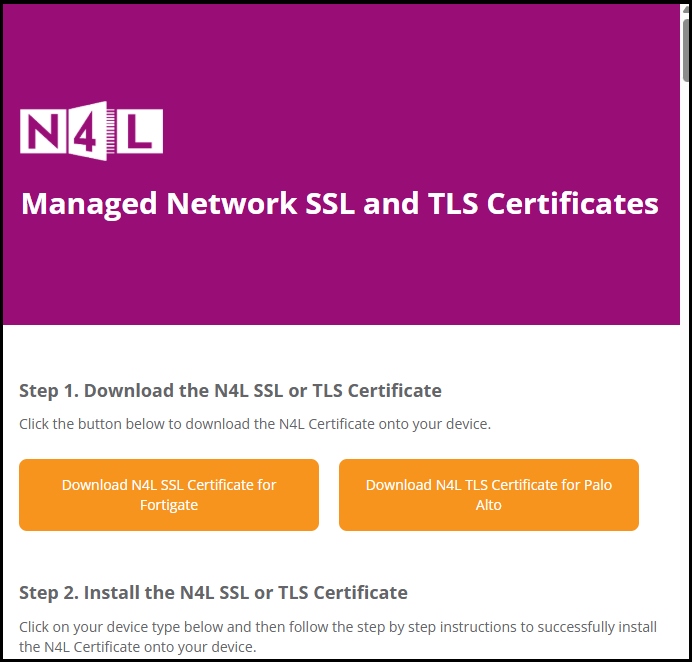
Download the certificate file from the N4L Managed Network SSL and TLS Certificates page.
NOTE: TLS Certificates are used for schools preparing for, or that have completed their Managed Network Upgrade (Palo Alto firewalls). SSL Certificates remain valid until migration (Fortigate firewalls).
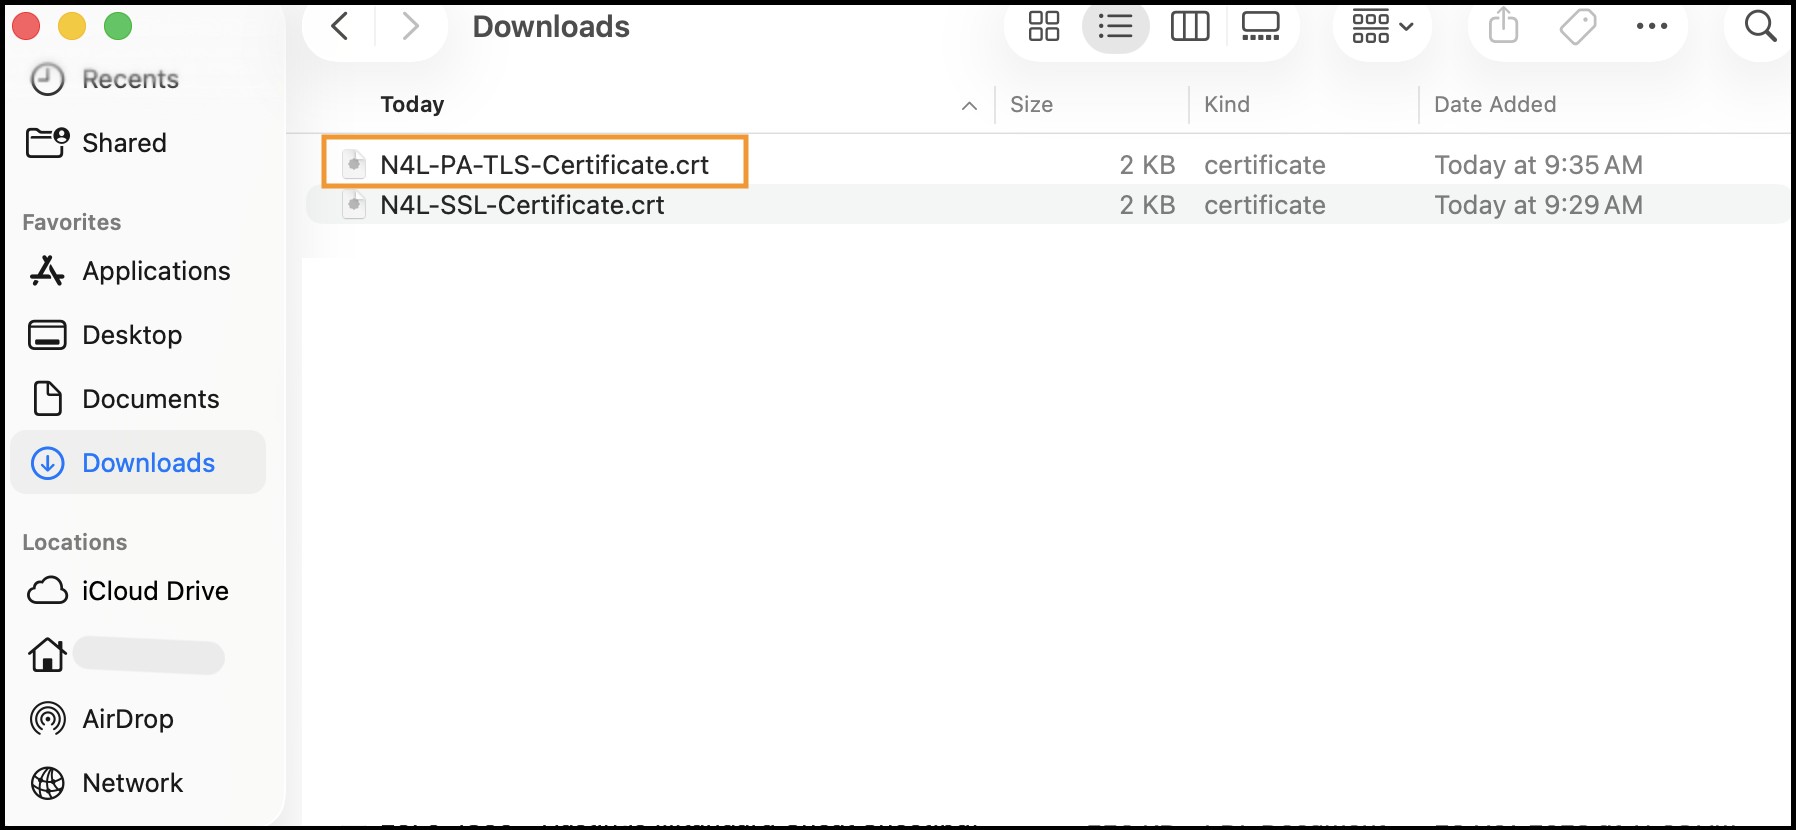
1. Go to Downloads and double-click on the certificate file (N4L-PA-TLS-Certificate in this example).
2. Use TouchID or Password to allow access to modify Keychain.
3. Choose the location of the keychain. Under Keychain, select System and click on Add.
4. Use TouchID or Password to allow access to modify Keychain. (Similar to Step 2).
5. Modify the certificate in Keychain Access, go to System on the left pane and double click Network for Learning Ltd Root CA v1
6. Expand Trust to display the trust policies for the certificate.
7. Trust the installed certificate. Under When using this certificate, choose Always Trust.
Note: All of the Drop-Downs will change to Always Trust.
8. Close the Network for Learning Ltd Root CA v1 certificate, use TouchID or Password when a pop-up window appears. (Similar to step2).
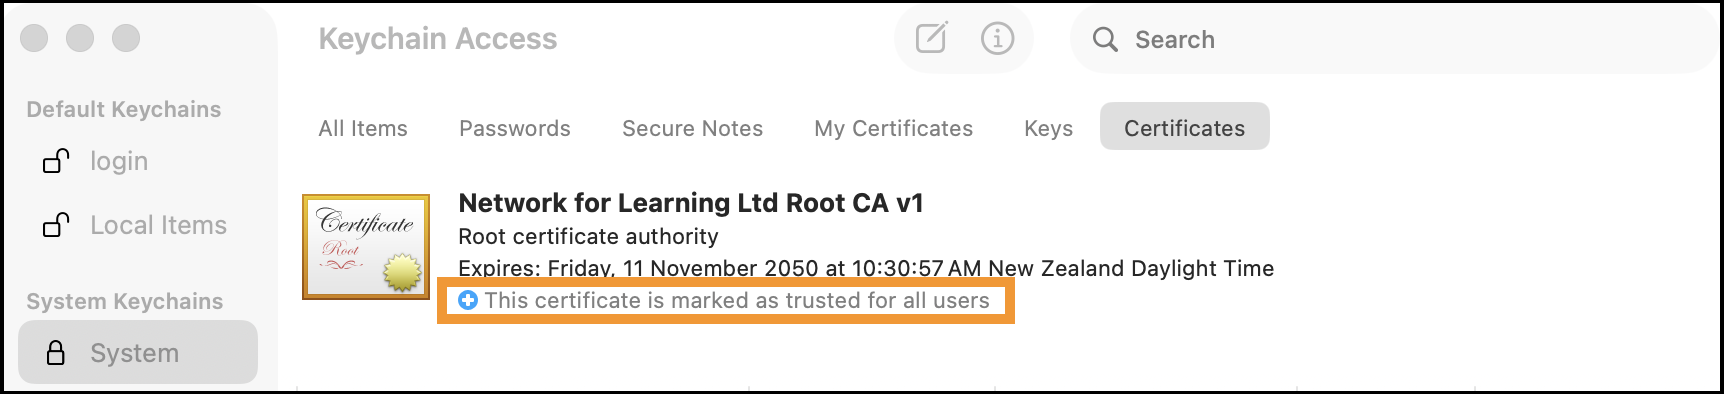
9. The certificate installed will be marked as trusted for all users as shown below.
When To Perform These Steps
Installing an SSL or TLS certificate is usually required after configuring SSL or TLS Filtering for the first time, or when the certificate has expired or been re-issued.
If you are installing certificates manually on all of your Apple OS X devices, these steps will need to be performed on each new device that is to be subject to SSL or TLS Filtering.